The roof is up! There’s still more to do, but Seapony is out of the rain.
Here’s me taking a skate break:
And the rest of the roof.
Still needs some more supports and painting/sealing, but at least it’s keeping the rain out!
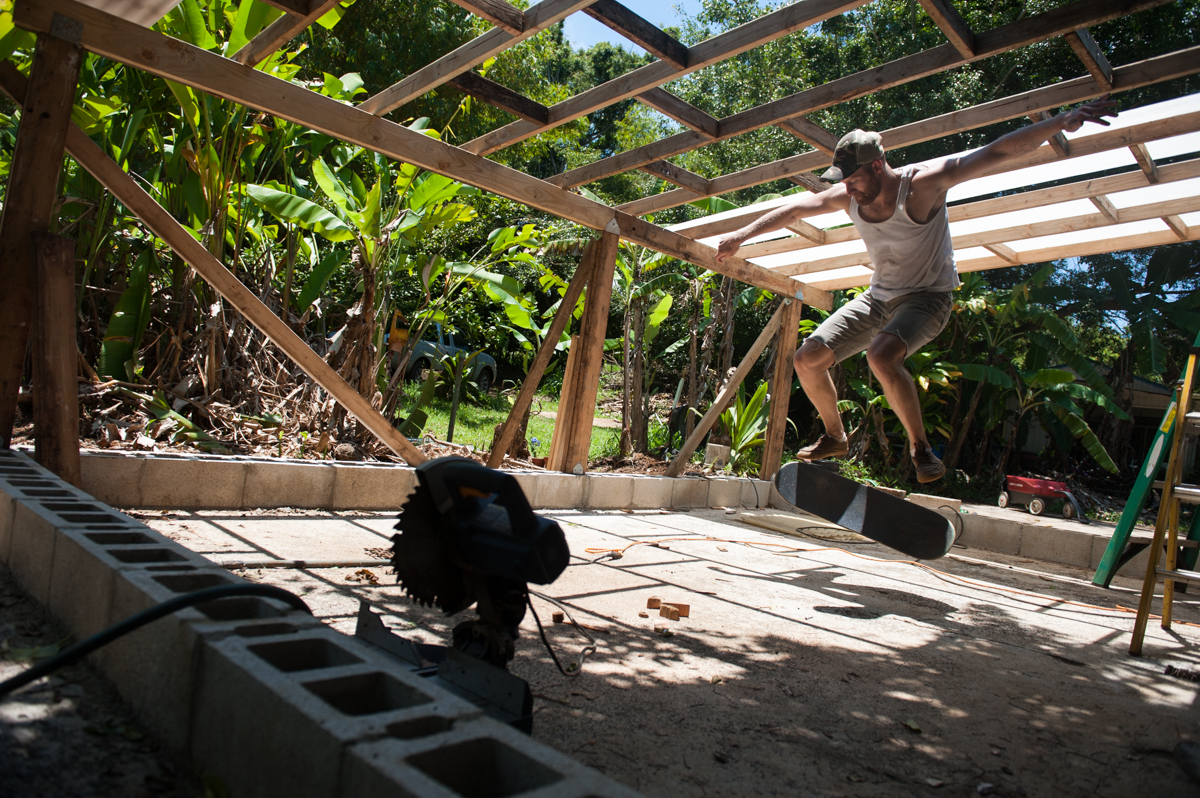
The roof is up! There’s still more to do, but Seapony is out of the rain.
Here’s me taking a skate break:
And the rest of the roof.
Still needs some more supports and painting/sealing, but at least it’s keeping the rain out!
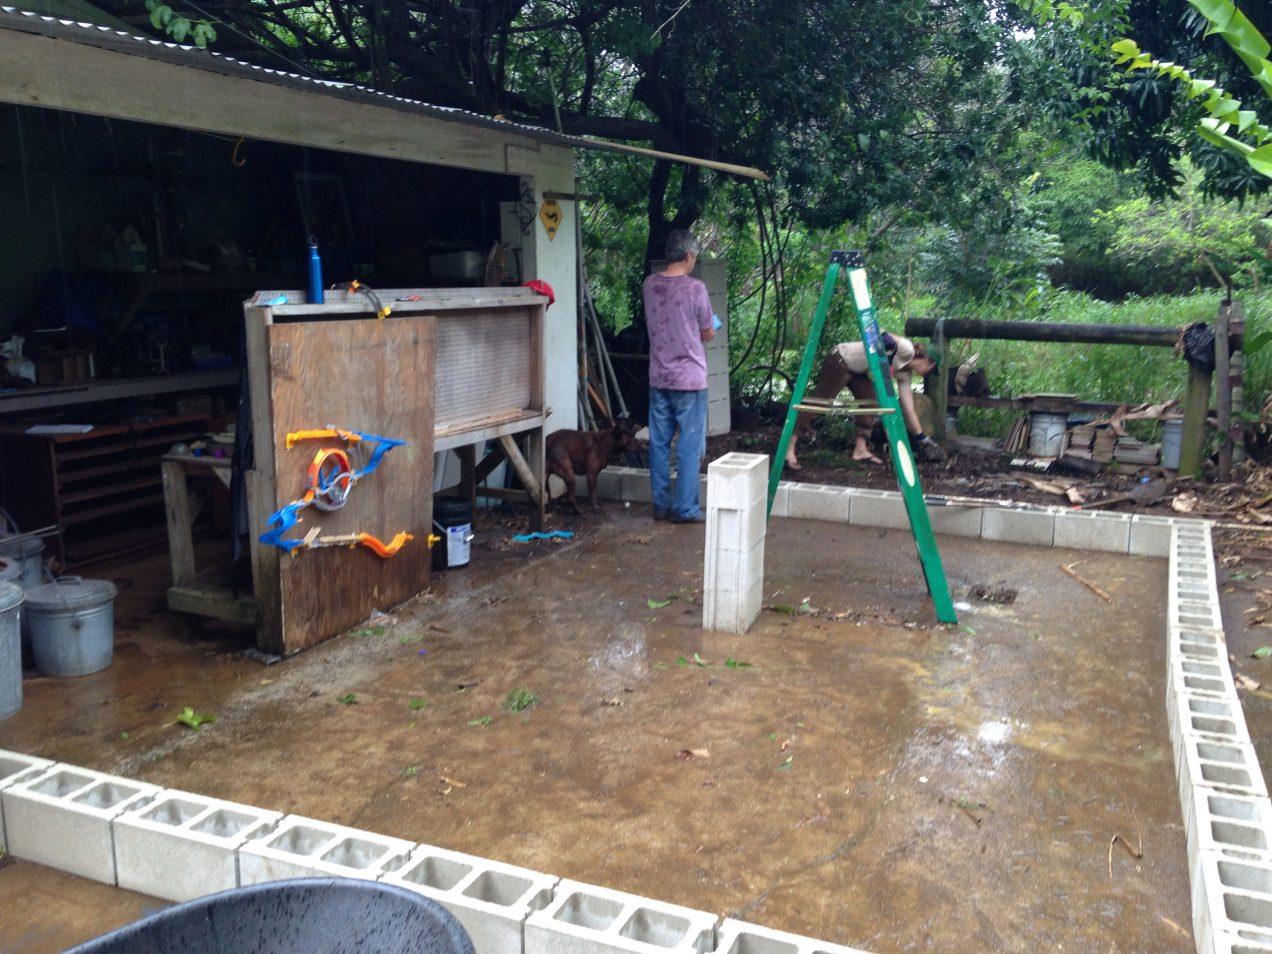
Been helping Seapony Pottery with their new open-air studio space. We’re building a cinder-block retaining wall to mitigate flooding, then framing out the roof! Exciting stuff. Here are some before-ish photos.
This is the space, part of it is currently covered, we’ll be building out a corrugated roof over the area marked with the cinder-blocks.
Here’s some of the reclaimed roofing we’ll be using. Still a bunch of cleanup to do but progress is being made. I’ll post more photos as the blocks go down and the framing goes up!

I just used Amazon to buy Eloquent Ruby. The estimated arrival date is about a week from now, but being in Hawaii, I’m prepared for it to take much longer. Upon placing the order, I noticed this message:
What a great idea. The main downside of ordering products from Amazon is that you have to wait for your physical product to arrive. But in this case, they’re able to minimize that inconvenience by allowing me to access the product digitally until my physical book arrives.
I elected not to buy the Kindle version of this book (or any reference or textbook) because diagrams and navigation on the Kindle are pretty clumsy, so it’s hard to quickly reference content. Print still very much has e-readers beat in this regard, but it’s definitely nice to be able to access the book digitally in the meantime. Amazon is doing a great job of thinking about the customer experience here. Rather than getting really excited about the product only to be disappointed when it sinks in that I have to wait, I’m offered a way to enjoy the content immediately, capitalizing on my current enthusiasm.
I’m on chapter 8 of The Ruby on Rails Tutorial now. Here’s the app so far, hosted with Heroku:
https://arcane-shelf-9437.herokuapp.com/
Fairly boring looking, but soon I’ll be done with the tutorial, at which point I’ll start building my own app, which will be much more exciting.
I just came across a few ridiculous photoshops of my co-workers I did for Image Design meetings at Groupon:
The Image Site Edit team:
 Ryan’s going away to Korea announcement:
 Lisa’s Ravioli-baby. Long story…
 Patriac as RAAAAAAAANDY:
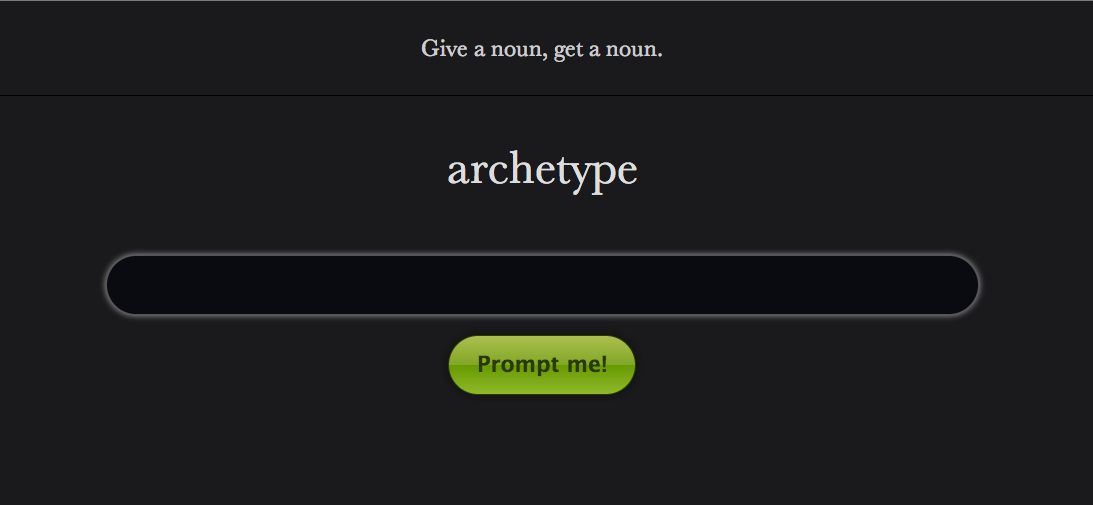
So while I’m working through The Rails Tutorial I’ll be creating their demo project, but I’ll also be working on my first rails app, which is going to be a writing prompt generator. The interface will be fairly simple, it’ll probably look something like this quick PHP app I wrote for fun (screenshot below).
But the prompt generator will be pulling words from The Princeton Lexical Database to generate random phrases. Upon generation, a timed text input field will pop up. The user will be able to write in the text input field, and the contents will be saved to their user profile, along with the prompt phrase used. There’ll be an option for skipping to a new prompt, or flagging prompts they want to reference again.
One of the most interesting parts of the project will be figuring out an algorithm that will generate some sort of phrase for people to work with. I’ll be posting progress periodically here.

I finally have a desk (read: two adjustable shelves which I sawed down to the optimal height and a 2’x4′ piece of plywood laid across them), and I’m ready to get back to learning Ruby on Rails. I’m working my way through railstutorial.org and it feels great to be back at it after the move. I’ll be posting links to the project, which’ll be hosted on Github. It’s a pretty comprehensive tutorial, breaking off into tangential tutorials for supplementary subjects like git, Sublime Text 2 (the best free text editor I’ve come across), test driven development with RSpec, and more.
More on this to come.
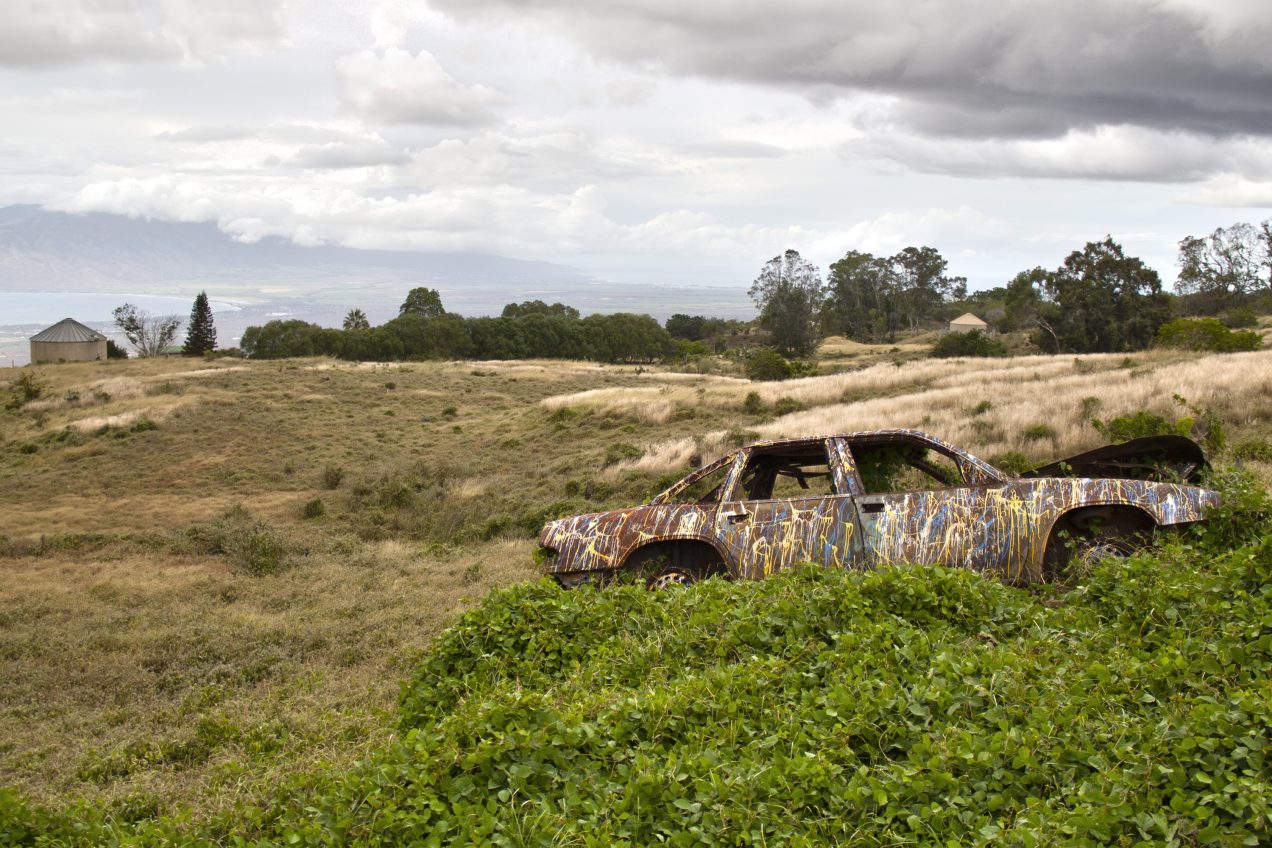
I’ve been going through this HDR tutorial on Lynda.com, and Yesterday I shot some bracketed sets and started experimenting with Photoshop’s HDR merge a bit. It worked alright for this first one. It was overcast when I took the shot, so it ended up looking a little over-saturated (I dialed the saturation back a bit), and for some reason when correcting the ghosting, some areas of the clouds got blown out, so I brought the underexposed image in as a new layer and use Photoshop’s ‘Auto Align Layers’ function then I masked that layer out and painted it in over the blown out areas. The result is below, which I thought was OK. But these shots were shot with an aperture of 3.5, and I focused on the car, so the other elements like the trees and such are a bit soft because of the shallower depth of field.
So I tried again with another bracketed set, this time with a smaller aperture so I’d have a little sharper focus on the buildings and the trees, and this one shows a bit more of the ocean and you can see Lanai off in the distance.
But after Photoshop’s tone-mapping, the background stayed way over-exposed, to bring enough detail back into the area I was going to have to do some masking, so I got the image about how I wanted it with HDR Pro then brought it into Photoshop, imported the underexposed layer, masked it, and painted in the background. But because of the high contrast and saturation of the foreground brought in by the HDR process, and the lack of saturation in the single exposure used for the background, I dialed back the saturation a bit for the foreground. And since the day was so overcast and the background is really far away, it naturally appeared much hazier anyway.
I also had to address some green/magenta chromatic aberration issues introduced by the HDR process, the lens correction smart filter helped with this, and I did a bit of smudging to remove some more traces of it (didn’t really get all of it though). Overall I’m reasonably happy with the results of my first HDR attempt. It has a bit of that cartoon-y feel of an HDR image, unfortunately, and could probably be a bit sharper. I think on a clearer day this scene might work better for HDR since vibrant colors would look more natural on a sunny day, and the background wouldn’t have as much detail lost to haze. Also I would bring my tripod next time, as these were handheld, and with the smaller aperture, the shutterspeed gets pretty long (especially for the over-exposed shot), introducing more camera-shake blur.
But really, you can not beat the view from Kula. You can see coast and ocean on the North and South sides, the valley below, and Maui Komohana to the West.