jumpwriter creative writing app
JumpOff, JumpWriter, meteorjs, web development

JumpWriter V1 is Live

It’s been a long time coming, but my creative writing tool, JumpWriter (formerly known as JumpOff) is live on the web as a Meteor App. Check it out at JumpWriter.com.

I’ve written more thoroughly about the full story of JumpWriter on my web-dev blog, so I won’t rehash it all here. But this free-writing tool has been a passion project of mine for a long time, and it’s finally up and running for anyone to use. Please give it a shot, pass it along, and if you have any feedback I’d love to hear it! Email me at jesse@jessequinnlee.com. Thanks!

Standard
wordpress plugin boilerplate home page
JumpOff, programming, web development, wordpress plugin development

Using WordPress Plugin Boilerplate

In working on my first WordPress Plugin, I’ve come across The WordPress Plugin Boilerplate, which is an object oriented starter codebase for writing WordPress plugins. I’d recommend using this generator to get started, as it’ll go ahead and properly name the files and methods with the name of your plugin.

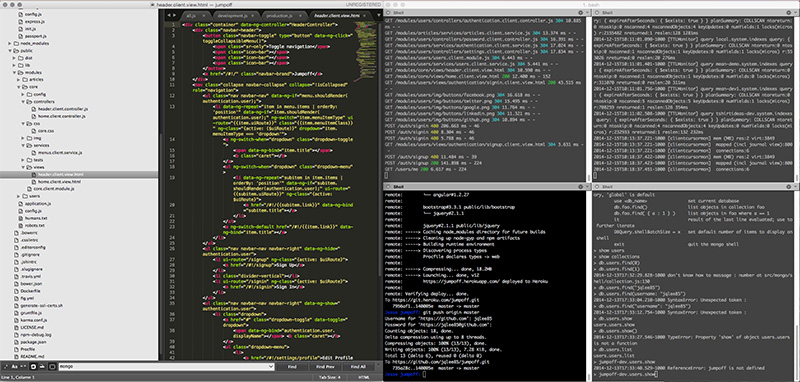
Converting my prototype to work within the structure of the WPPB has been a bit of a challenge. It’s required me to think a little differently, but should keep things more organized as JumpOff grows. You can see the progress on my GitHub Repo.

Here’s one of the first issues I ran into:

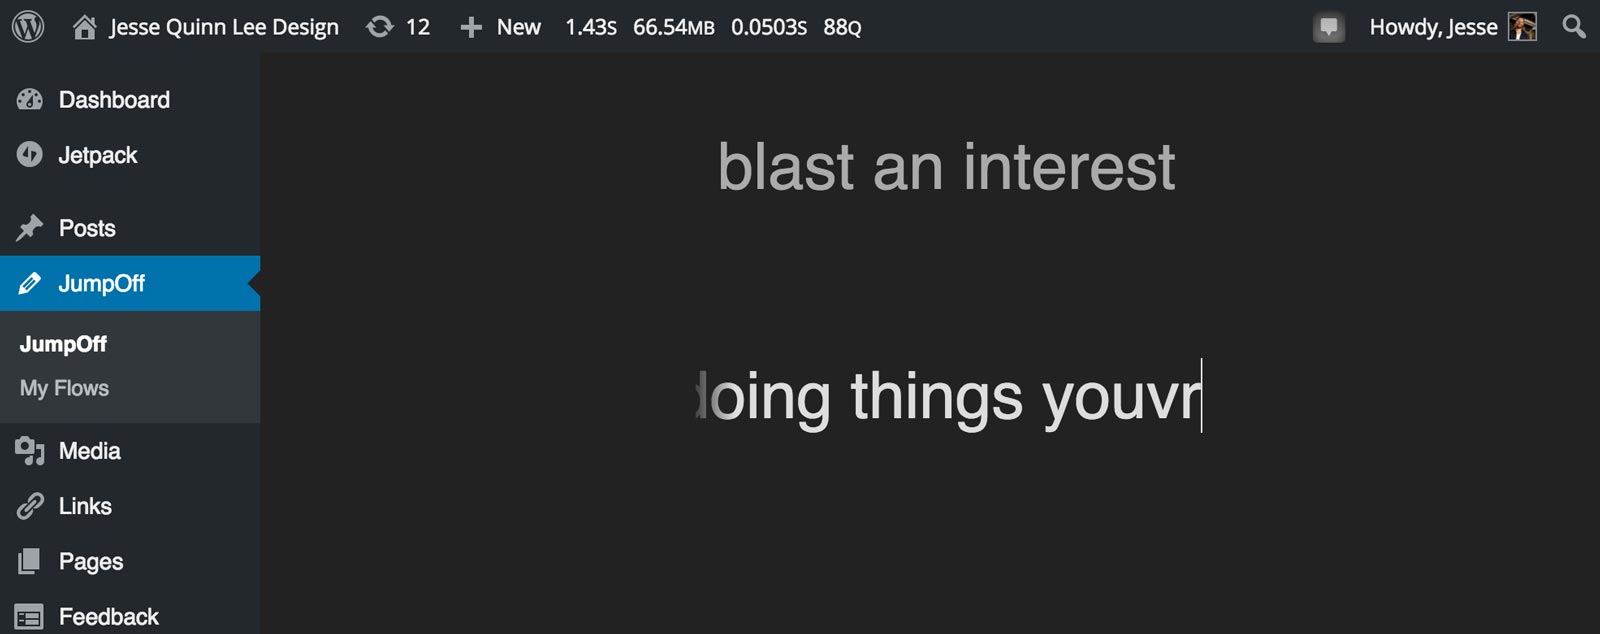
The styling of JumpOff’s admin page requires making an edit to the default styles of the WordPress Admin Area. I needed to change the background color of the admin area wrapper:

#wpwrap {
	background-color: #222;
}

ul#adminmenu a.wp-has-current-submenu:after, ul#adminmenu>li.current>a.current:after {
	border-right-color: #222;
}

In doing so, I noticed it was applying these color changes to the whole admin area, no matter what page I was on. Hooking a plugin’s admin CSS to the ‘admin_enqueue_scripts’ hook is a bad idea in my case, but it’s also inefficient in many other cases. If you’re styling a plugin’s options page, hooking it to ‘admin_enqueue_scripts” will load it on ANY WordPress admin page. Assuming you’re properly namespacing with your CSS, this may not be a problem, but ideally, you’d only load the CSS on the pages that need it.

With WPPB, this CSS loading happens with this line:

$this->loader->add_action( 'admin_enqueue_scripts', $plugin_admin, 'enqueue_styles' );

So I had to use a different hook, called only on a plugin’s options page. This turns out to be a little difficult within the structure of WPPB. Ultimately what I’m doing is adding this action in the “class-{plugin-name}.php” file’s “define_admin_hooks()” function:

//Load conditional CSS just on JumpOff page
$hook_suffix = 'toplevel_page_jumpoff';
$this->loader->add_action( 'admin_print_scripts-' . $hook_suffix, $plugin_admin, 'jo_page_enqueue_styles');

Now, ideally $hook_suffix, would be dynamically generated by the action that adds the options page:

//Main Menu Item
$this->hook_suffix = add_menu_page( 'JumpOff Options', 
	'JumpOff',
	'manage_options',
	'jumpoff',
	array($this, 'jumpoff_show_page'),
	'dashicons-edit',
	'6'
);

But, in keeping with WPPB’s OOP structure, this is run inside the “{plugin-name}_Admin” class, while the action enqueueing the styles has to be run from the “{plugin-name}” class. Even though I’m setting an instance variable in the “{plugin-name}_Admin” class, this isn’t done until the “admin_menu” hook fires, so my code in the “define_admin_hooks” doesn’t have access to the “$hook_suffix”.

I tried adding another action at the end of the “admin_menu” hook to get the hook suffix after it existed, then add the action with the proper hook name, but that didn’t work either. So then I hard-coded the “$hook_suffix” to make the hook “admin_print_scripts-toplevel_page_jumpoff”, which is fired only when the JumpOff admin options page is loaded.

That worked, but wasn’t very DRY. Then I realized that when “define_admin_hooks()” instantiated the “{plugin-name}_Admin” object, it passed in the plugin name as a parameter:

$plugin_admin = new Jumpoff_Admin( $this->get_plugin_name(), $this->get_version() );

So, I went into my function declaring the admin menu, and  made the code use that plugin name as it was passed in:

//Main Menu Item
add_menu_page( 
	'JumpOff Options', 
	'JumpOff',
	'manage_options',
	$this->plugin_name,
	array($this, 'jumpoff_show_page'),
	'dashicons-edit',
	'6'
);

Then I changed the admin_print_scripts conditional loading action to this:

//Load conditional CSS just on JumpOff page
$this->loader->add_action( 'admin_print_scripts-toplevel_page_' . $this->get_plugin_name(), $plugin_admin, 'jo_page_enqueue_styles');

Now the add_menu action and the admin_print_scripts-{hook_suffix} action are both relying on the plugin name defined in the plugin’s constructor. A little more DRY.

Any ideas for how to improve this? Email me (jesse (at) jessequinnlee.com)!

Standard
active art, arduino, art, human computer interaction, programming, Throw, web development

Active Art Project, “Throw”

I’ve recently started on an art project that’s going to combine 4 of my absolute favorite activities, creating digital art, web-development, construction, and throwing balls at things. I’m so excited about this idea!

This project has been in the planning/research stages for a while, but I’m still very early on, and I want to write about the project and the process as it progresses here.

What is it?

There are several ways I could answer that, let me start with how one will use it.

You’ll start off holding a tennis ball, standing 10 – 60 feet away from a plywood board with a frame around it. On this board, you’ll notice an 8×8 grid of 4″ squares painted on it. An LED light will shine from one of these squares, and you’ll be instructed to hit that square with the tennis ball.

You’ll throw the ball, and a monitor, or nearby tablet will blink and give you a score, showing you where you were supposed to hit and where you hit. There will be two grids on this screen, grid one will show a color plotted on the square you were supposed to hit, and grid two will show the same color plotted wherever you actually hit.

After repeating this process 63 times. You’ll end up with a final accuracy score and two grids, one will be the source image you were (unknowingly) attempting to recreate, and the second will be your recreation. Theoretically, if one had perfect aim, the two would be exactly the same.

These two images will be automatically uploaded to a web-app where they will be added to two larger images. Image 1 gets placed, like a puzzle piece among other source images, to ultimately create the larger original source image from which it came. Image 2 (the recreation attempt) gets placed, similarly among the other recreation attempts created by the throwers before you, to ultimately create a collective recreation attempt of the larger original image.

How does it work?

Well, that’s where it gets interesting.

Basically, how the board will work, is that a couple inches off the board’s surface, built into the surrounding frame, there will be 2 arrays of 36 light sources (laser diodes (or LEDs), arranged along the X and Y axes of the board (72 total). Directly across the board from each of these, will be a corresponding light sensors (phototransistors or photoresistors). This will create a grid of beams, all connected to an Arduino Uno microcontroller.

When an object passes through this beam grid, it will temporarily block some of the beams. By monitoring which beams are blocked on both the x and y axes, the Arduino & computer it’s connected to, will determine (approximately) where the ball hit the board, and feed this information into the web-app. Voila!

So I know how to build the web-app, how to build the wooden frame, and definitely how to throw tennis balls at things, but electronic hardware, well, that’s not my strong suit. Hence, me joining Maui Makers and learning about Arduinos. People on the Arduino forums have also been very helpful, if you’re interested, check out the Arduino forum thread where I’m getting help.

I’ve sketched out basic diagrams of how this will work, and have started researching the exact hardware I’ll need to make it happen. The more I research and talk to people about the idea, the less simple it seems. I’m realizing making this theoretical idea a physical reality is quite a bit more complicated than I initially thought. But luckily, every time I talk to people we come up with even more potential applications for a sensor board like this.

Once the hardware is built, the applications are seemingly endless. here are just a few that have come up.

  • Use it to play Battleship. But no calling ‘A4’, you just try to hit a spot with the ball, and wherever you hit, that’s where you hit.
  • Use it as an instrument, block different beams to play different notes.
  • Use it for pitching practice, to track accuracy.
  • Use it to draw/paint by dragging your hand through the beam grid. Or you could choose a color on a tablet, then throw a ball to plot that color wherever you hit on a grid.
  • If other people built these sensor boards, we could have people all over the world throwing at boards and contributing to the same images, or playing Battleship remotely.
  • Group throwers by skill level or age, and have them recreate the same source images. How does that affect the fidelity of the recreations?
  • People could take photos of themselves with a phone, then that photo could become the image they’re recreating by throwing at the board.

The possibilities are endless. And beautifully, it’s a way to be ACTIVE while interacting with computers and creating art.


Standard
jumpoff wordpress plugin logo
JumpOff, programming, web development, wordpress plugin development

My First WordPress Plugin

I’m happy to announce I’m in the process of writing my first ‘real’ WordPress plugin. Sure I’ve written a few before, but they were all kind of auxiliary plugins, designed primarily to solve a custom problem on a particular website or theme. I’ve never written a plugin that adds functionality intended to be used by everyday users.

It’s called JumpOff, and it’s be a tool for writers and bloggers to get into a state of flow. It’s designed to limit your options so you just focus on stream-of-consciousness writing. The goal is to explore your thoughts and get them from your head to the page without second-guessing, backtracking, or editing.

Here’s a sneak peek screenshot of where it’s at so far. It doesn’t look like much, but that’s the point, most of the interesting stuff is happening under the hood. The basic idea is working, but it’s still in the prototype stages. Once it’s ready for beta release it will be an open-sourced, free plugin. I’m looking forward to writing here about the process of designing, coding and releasing my first WordPress plugin!

jumpoff screenshot

Standard
sublime text 3 and iterm showing meanjs app
meanjs, web development

Launching a Mean.js App

After experimenting with Rails for building web apps, I’ve decided to learn to build apps using the MEAN.js stack. Very quickly, the MEAN stack is comprised of:

  • Mongo DB: A no-sql, JSON document based database.
  • Express: Backend framework for Node apps written in Javascript
  • Angular: Frontend javascript framework
  • NodeJS: A single-threaded, non-blocking javascript web-server running on Google’s V8 engine

So the MEAN stack allows you to write web apps completely using Javascript (as well as html/css of course). Apart from these 4 basic technologies, MeanJS integrates packages like Bower and Grunt.

I like the elegance of Ruby and Rails, but seeing as how apps seem to be moving toward using javascript heavily for front-end frameworks, I’d rather learn to code on the backend using Node and Javascript so I don’t have to switch contexts between Ruby and Javascript. Also, the non-blocking async nature of Node means that it has the potential to be very fast. Node’s got a lot of hype around it and seems to be growing quickly, so if I’m gonna invest my time in learning a technology, it seems like a good one.

I’ve already noticed that launching/tweaking a MEANjs app is more complicated than a Rails app, and there is less support out there, learning resources aren’t as prevalent or polished, although I’ve found a few good ones. Here’s what I’m using so far, apart from the official Framework docs, constant Googling and StackOverflow:

  • MEAN Stack Intro – (Video) Good, 1 hr demo/overview on how the technologies interact to form an app.
  • 30 Day Mean Stack Honolulu Challenge – (Video) 30-ish videos around 10-15 minutes each, showing how to launch a basic MEAN app. Great explanation, also goes over Bootstrap for front end styling. I highly recommend this series if you’re looking to put a little more time in. By Bossable.com.
  • Web Development with Node and Express – (Book) Good explanation of Node and Express, doesn’t include angular, and uses Mustache for backend templating, while MEAN.js uses Swig (sparingly). It also covers concerns regarding deployment and maintenance. When I’m burned out from being on the computer all day, it’s nice to supplement the training by reading this (one of these days I’ll get a life, I swear).

I’m using Heroku for cloud hosting, and MongoLabs for my online database. Heroku seems to offer pretty good support for Node apps, though admittedly I don’t really have anything to compare it to.

As far as the actual purpose of the app I’m building, I’ll write more on that in a different post as I progress, but I’ve already got a working test app up on Heroku and linked to the .io domain I purchased for it. It’s coming along!

Standard