I just came across a few ridiculous photoshops of my co-workers I did for Image Design meetings at Groupon:
The Image Site Edit team:
 Ryan’s going away to Korea announcement:
 Lisa’s Ravioli-baby. Long story…
 Patriac as RAAAAAAAANDY:
I just came across a few ridiculous photoshops of my co-workers I did for Image Design meetings at Groupon:
The Image Site Edit team:
 Ryan’s going away to Korea announcement:
 Lisa’s Ravioli-baby. Long story…
 Patriac as RAAAAAAAANDY:

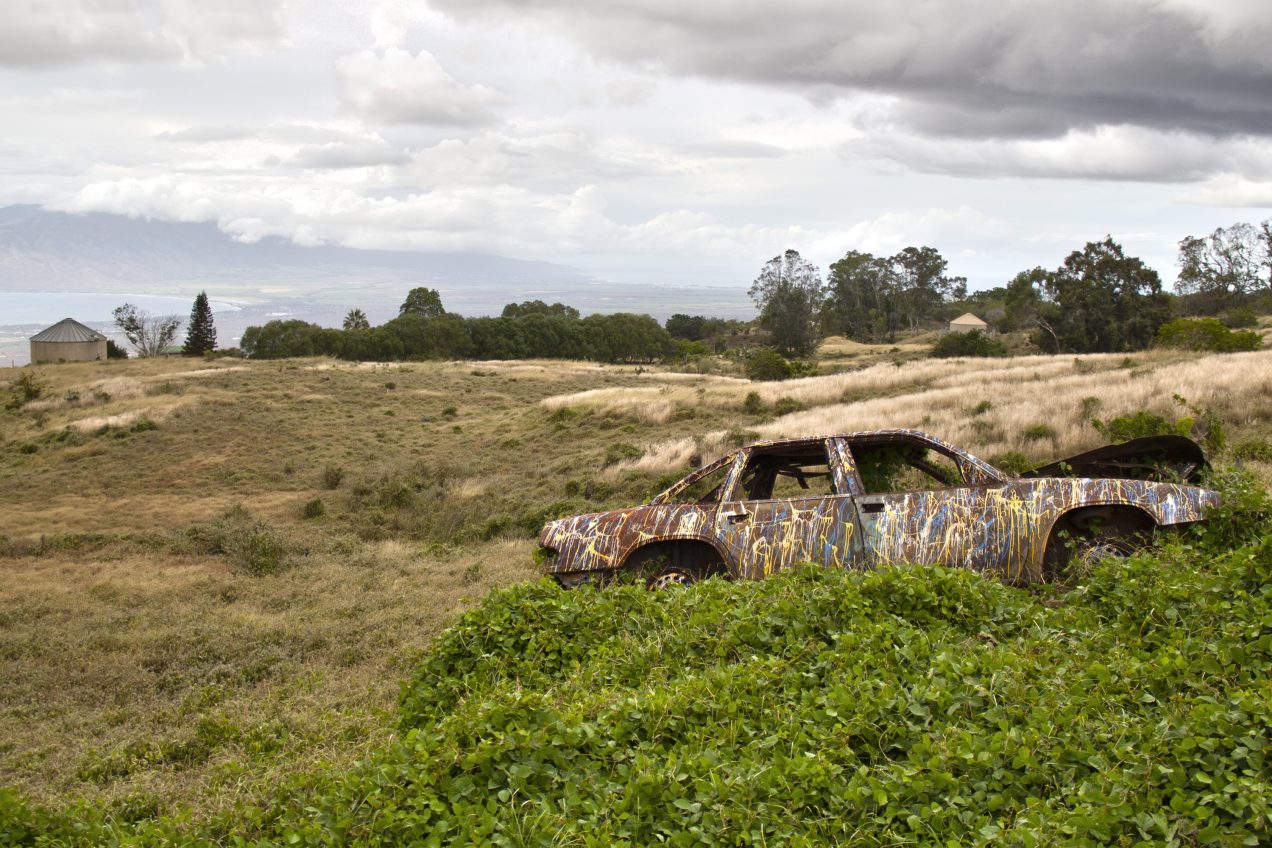
I’ve been going through this HDR tutorial on Lynda.com, and Yesterday I shot some bracketed sets and started experimenting with Photoshop’s HDR merge a bit. It worked alright for this first one. It was overcast when I took the shot, so it ended up looking a little over-saturated (I dialed the saturation back a bit), and for some reason when correcting the ghosting, some areas of the clouds got blown out, so I brought the underexposed image in as a new layer and use Photoshop’s ‘Auto Align Layers’ function then I masked that layer out and painted it in over the blown out areas. The result is below, which I thought was OK. But these shots were shot with an aperture of 3.5, and I focused on the car, so the other elements like the trees and such are a bit soft because of the shallower depth of field.
So I tried again with another bracketed set, this time with a smaller aperture so I’d have a little sharper focus on the buildings and the trees, and this one shows a bit more of the ocean and you can see Lanai off in the distance.
But after Photoshop’s tone-mapping, the background stayed way over-exposed, to bring enough detail back into the area I was going to have to do some masking, so I got the image about how I wanted it with HDR Pro then brought it into Photoshop, imported the underexposed layer, masked it, and painted in the background. But because of the high contrast and saturation of the foreground brought in by the HDR process, and the lack of saturation in the single exposure used for the background, I dialed back the saturation a bit for the foreground. And since the day was so overcast and the background is really far away, it naturally appeared much hazier anyway.
I also had to address some green/magenta chromatic aberration issues introduced by the HDR process, the lens correction smart filter helped with this, and I did a bit of smudging to remove some more traces of it (didn’t really get all of it though). Overall I’m reasonably happy with the results of my first HDR attempt. It has a bit of that cartoon-y feel of an HDR image, unfortunately, and could probably be a bit sharper. I think on a clearer day this scene might work better for HDR since vibrant colors would look more natural on a sunny day, and the background wouldn’t have as much detail lost to haze. Also I would bring my tripod next time, as these were handheld, and with the smaller aperture, the shutterspeed gets pretty long (especially for the over-exposed shot), introducing more camera-shake blur.
But really, you can not beat the view from Kula. You can see coast and ocean on the North and South sides, the valley below, and Maui Komohana to the West.
My Mom needed a photoshop of Nixon as a Kung-Fu master for her presidential movie submission for my parents’ bi-annual “Presidential Cocktail Party.” Here’s the result: